Tidy wallpaper is easy to do yourself
Hanging difficult? With our tips you can do it yourself!
Our fleece wallpaper is easy to apply yourself. We are happy to help you step by step to achieve a perfect result with your photo wallpaper. Read through the tips below before you get started. Then send us a photo of the result!
Wallpaper with fleece wallpaper
Fleece wallpaper is quick and easy to apply. Before you start wallpapering, make sure you have received everything. The packaging of wallgroup.com contains the following:
- Roller(s) of photo wallpaper, numbered;
- User manual for applying photo wallpaper with tips.
Optionally available at Wallgroup.com:
- Professional wallpaper printer;
- Wallpaper pressure roller;
- Wallpaper demolition knife;
- Wallpaper glue for non-woven wallpaper;
- Glue roller;
- Wallpaper scissors;
- Other wallpaper accessories.
Important before applying fleece wallpaper:
- To prevent shrinkage, it is recommended to allow the wallpaper to acclimatize for 24 hours before applying it to the wall;
- The optimal temperature to apply the wallpaper is between 64 – 77 ºF and a humidity of about 40% – 65%;
- Before application, the surface of the wall must be clean and dry.
Step-by-step plan for applying photo wallpaper:
Step 1: Preparation
If applicable, switch off the electrical groups of sockets and switches, remove the frames and tape them off with wallpaper tape. Then remove the old wallpaper, if necessary. Make sure the wall is smooth by removing nails and bumps and filling holes with all filler. Let the filler dry thoroughly and sand it smooth. Cover the ground with e.g. newspapers, cloths or tarpaulin. Prepare a sturdy ladder so that the wallpaper can be pressed down well over the entire wall.
Attention! If your walls are plastered, use a primer, so that the wallpaper glue is not sucked directly into the wall and the wallpaper does not stick. Spread the primer well and let it dry overnight.
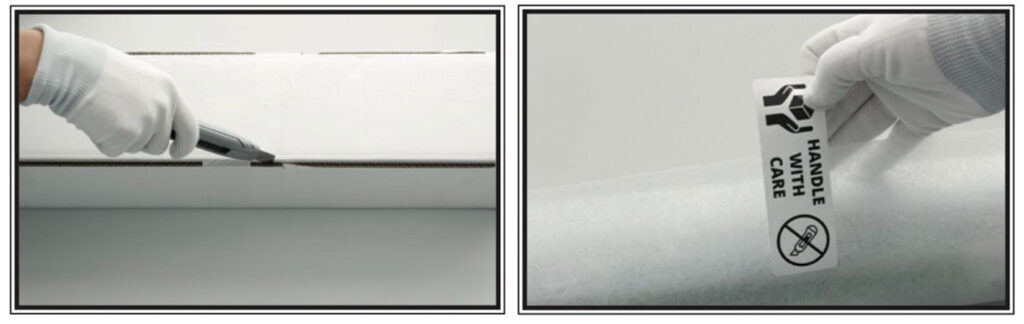
Step 2: Unpack and unroll
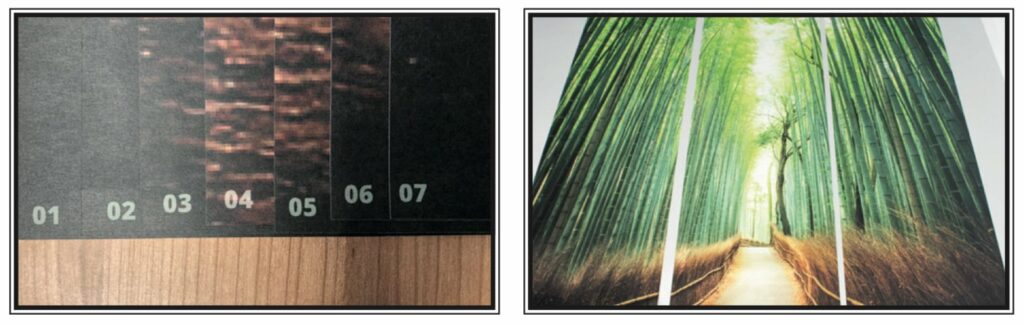
Carefully cut open the box and remove the rolls from the packaging. Remove the protective packaging. Roll out the wallpaper and check that it is in order. There are numbers at the bottom of the wallpaper or on the back.
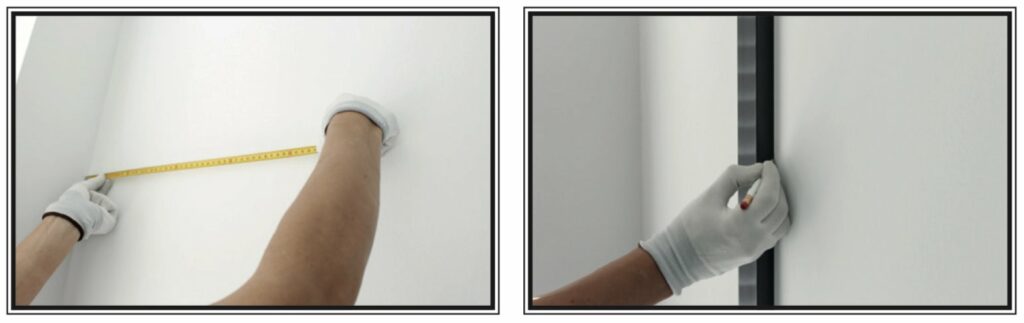
Step 3: Pilot line (only for non-woven wallpaper)
To get the wallpaper perpendicular, first draw a perpendicular line with pencil on the wall. Make sure you place a thin, soft line, otherwise the line may shine through the wallpaper. Use a long spirit level to place the line. Determine the position of the line by reading the width of the wallpaper on the thumbnail image (at ‘Tile width’) and measure this with a tape measure on the wall.
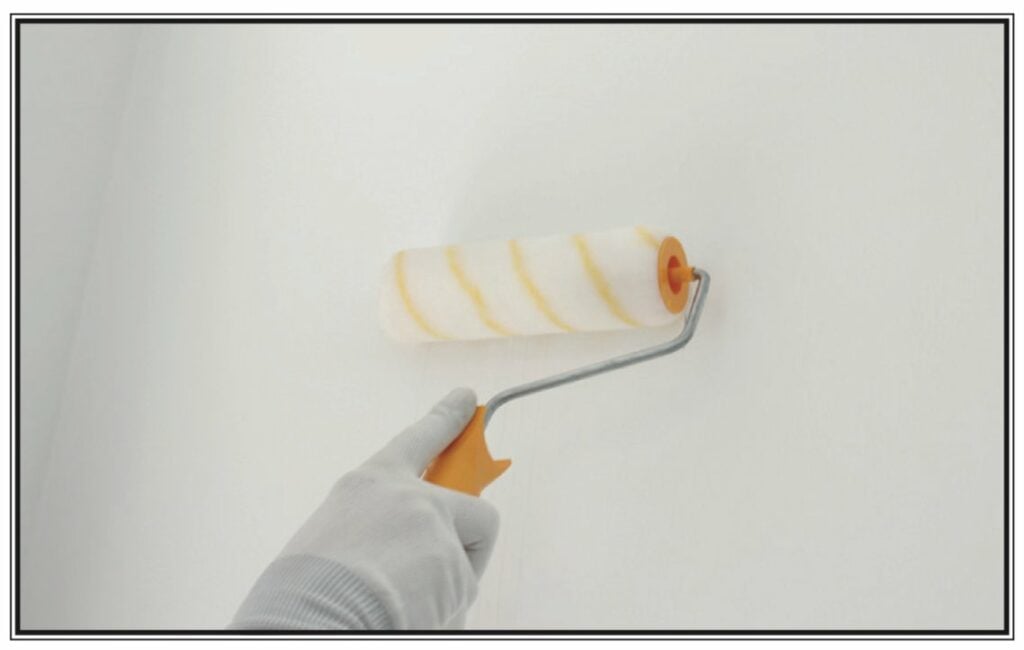
Step 4: Applying wallpaper glue
You should apply wallpaper glue according to the user manual on the glue packaging. In the case of non-woven wallpaper, you apply wallpaper glue per strip. Use a glue brush or a wallpaper glue roller to apply the wallpaper glue. Grease the wall a little wider than the width of the wallpaper.
Step 5: Applying the wallpaper
Work from top to bottom. When you have ordered wallpaper with a 5 cm margin, keep an overlap of 0.8 inch at the top. Place the strip straight along the perpendicular. Applying it straight is very important, because the following strips will match. Push the wallpaper well against the wall using a wallpaper pusher or a squeegee. In the corners you have to press the wallpaper extra so that you get a fold line. If you pull the wallpaper back a little, you can easily cut away the wallpaper along the fold line with a pair of scissors. You can also cut away wallpaper. Then press the wallpaper pusher firmly into the corner and cut away the remaining wallpaper with a sharp knife. Easily cut out sockets by pressing the wallpaper firmly at sockets and cutting away the middle piece.
Repeat this step until all wallpaper strips have been applied.

Step 6: Finishing
Take a wallpaper pressure roller and press the air bubbles under the wallpaper. Roll to the side so that air can escape. Use a wallpaper seam roller for an even nicer and tighter result. Cut and trim away any excess wallpaper. Check all edges and seams to make sure they stick. Assemble the sockets and switches and put the power back on. And your photo wallpaper is ready! Will you share the result with us via email or our social media channels? We are very curious.
Tips:
- Do you have to wallpaper around a window or other obstacle? Then first stick the strips all over it and then cut it off piece by piece along the frame. So do not cut the entire strip to size at once.
- You need to puncture a large air bubble with a pin and then you can wipe the air away. Small air bubbles disappear as they dry up.
- Remove excess glue with a dry cloth.
- Use a wallpaper seam roller for an even more beautiful and tighter result.
- Provide sharp folds at corners so that cutting away excess wallpaper is easy and straight.